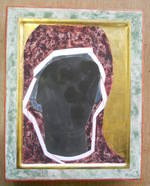
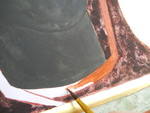
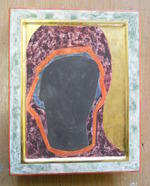
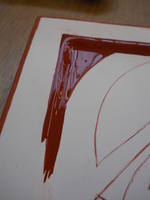
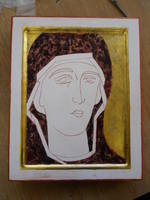
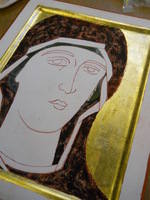
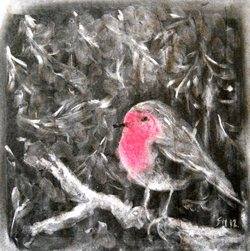
I started a 10 week Iconography painting course this year and thought I would share my progress with you!
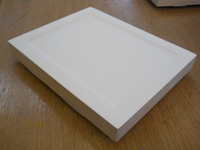
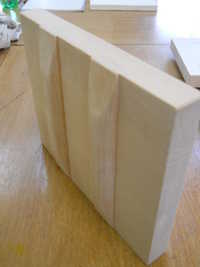
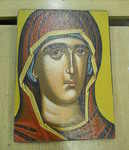
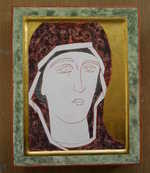
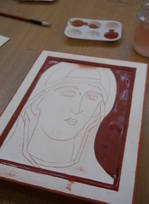
The icon board front and back (I paid extra for a top notch one the idea being start as you mean to go on!) and the Icon we are going to paint (Mary by the way). The board is wood covered with layers of Gesso sanded down to a very smooth finish.
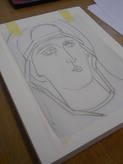
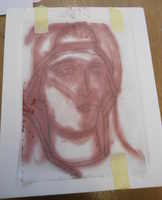
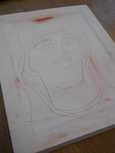
We fixed the design in place, brushed red brown pigment over the back and re-drew the deisgn onto the board much like a carbon paper transfer method only a lot more messy!
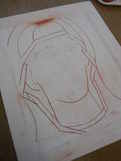
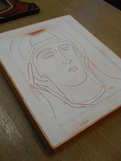
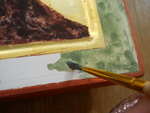
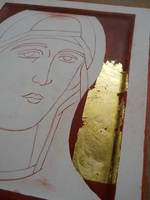
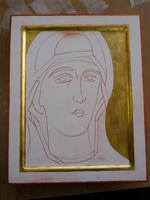
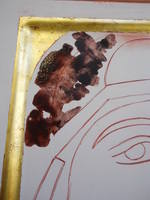
The lines were then painted over with Egg Tempera (more on this below!). We scribed lines into the gesso surface (on my beautiful new board? Surely not!) for reasons that will be explained later. The side edges of the board were painted with the tempera along with a 2mm line all the way around the top edge. It's ready for the next lesson!!
Egg Tempera:
Egg Tempera is a permanent fast-drying painting medium consisting of colored pigment mixed with, yes you guessed it, eggs! Egg yolk to be precise. Tempera paintings are very long lasting, and examples from the 1st centuries AD still exist. Egg tempera was a primary method of painting until after 1500 when it was superseded by the invention of oil paints. Leonardo Da Vinci's 'Last supper' was painted in tempera.
Some notes on Icon painting:
If you like structure in your classes this is the one for you!
Icons are not 'painted' they are 'drawn'.
Icons are an offering to God, so always use the best materials you can.
Make sure you paint the Saints in the right colours wih the correct features so they can always be recognised (e.g. Mary always wears red/brown)
You always need to see two eyes (never paint a Saint in profile) and at least one ear
The eyes should look different (hurrah! Eyes are so hard to get the same...)
More next time the snow stops!
